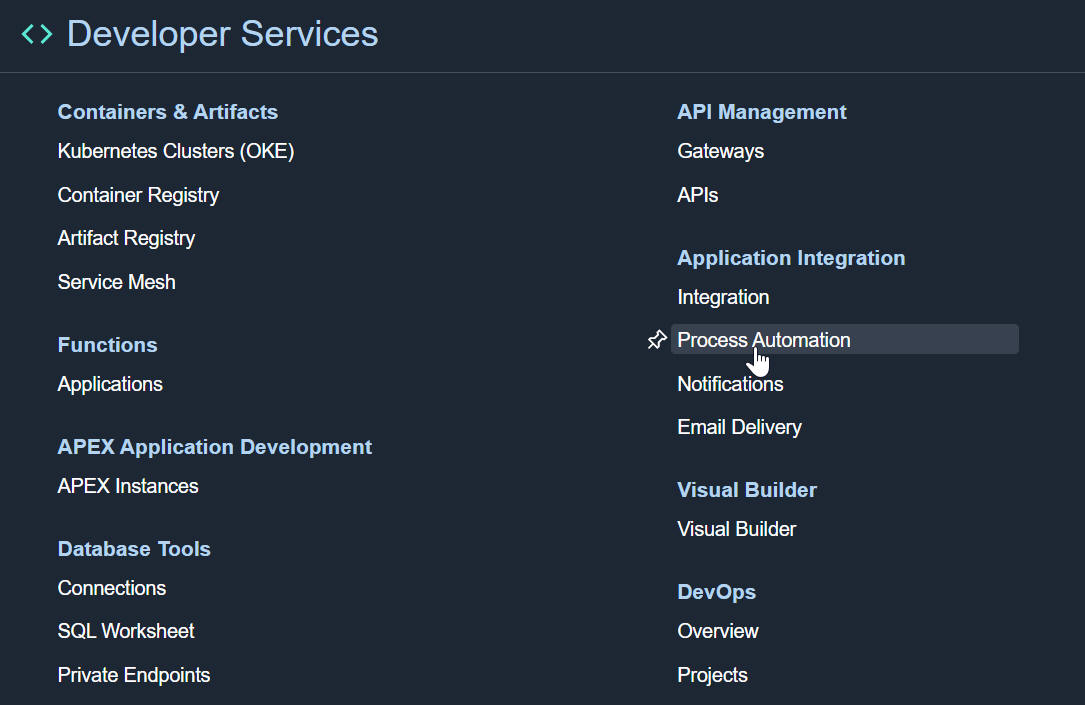
OCI Process Automation is now available at an Oracle Data Center near you! So what is it? Essentially, a standalone process automation engine very similar to what we have in OIC gen 2. The difference here is the standalone - it ships with 2 environments - one for designing your processes, the other - your Workspace for interacting with processes.
The oracle docs for OCI Process Automation are available here. But, without further ado, let's provision an instance!
Provisioning Process Automation
Note, the Access Token field is populated for you.
Regarding the Metering Model -
Users - active process users per hour, as invoker or participant. Probably very interesting for customers buying Process Automation to extend SaaS e.g. HCM, where user based pricing is the norm.
Execution Pack - An execution pack gives you 10,000 execution activities. An activity is any available element in the Process Automation design palette e.g. start/end events, human task, exclusive gateway etc. Now say your process contains 100 activities, however, for a particular instance flow only 40 of these are actually executed. That means 10,000 - 40, leaving you with 9960 "credits" in your execution pack.
Now to the design time -
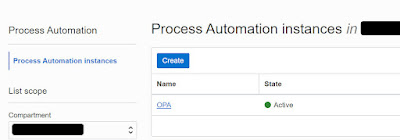
Welcome to the new Process Designer -
Kicking the Tyres
The designer is very similar to what we have today in OIC Gen2, however, with some important deltas -
- Standalone Designer - no dependency on OIC
- Redwood Look and Feel
- Compelling new features
So let's create a simple process -
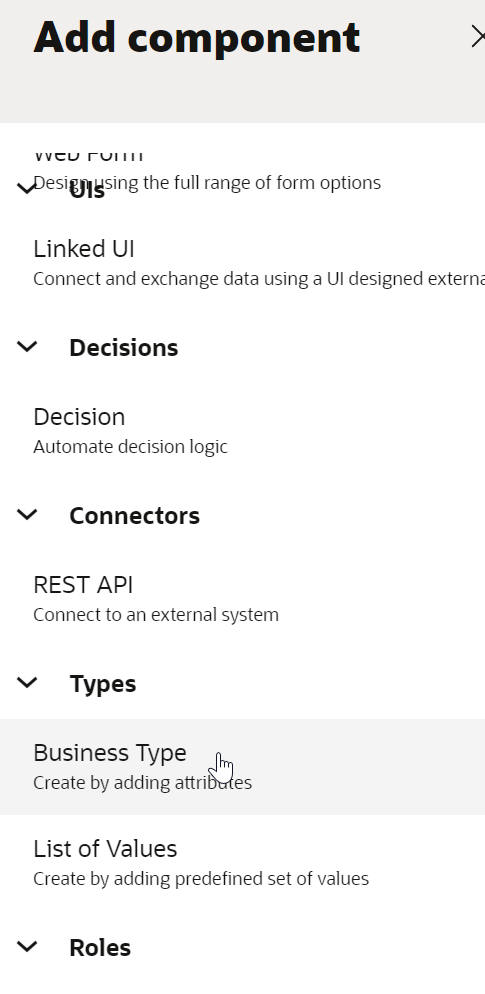
Let's go thru the individual components -
I start off with Types - the business objects. This is an order approvals demo, so I start by creating my Orders business object.
Business Types are business objects, such as my order definition etc. List of Values can be used for data input - e.g. a LOV attached to a picklist field in my order entry form.
So to the Business Type -
I add the required fields -
I then create an LOV -
now let's create the UI - here I need a Form that can be used for Order Entry and Order Approval -
I will drop the Order type onto the form -
I prettify it somewhat -
I now create the process roles - I will have 2 - the CSR enters the orders, while the MANAGER approves.
I do the same for MANAGER.
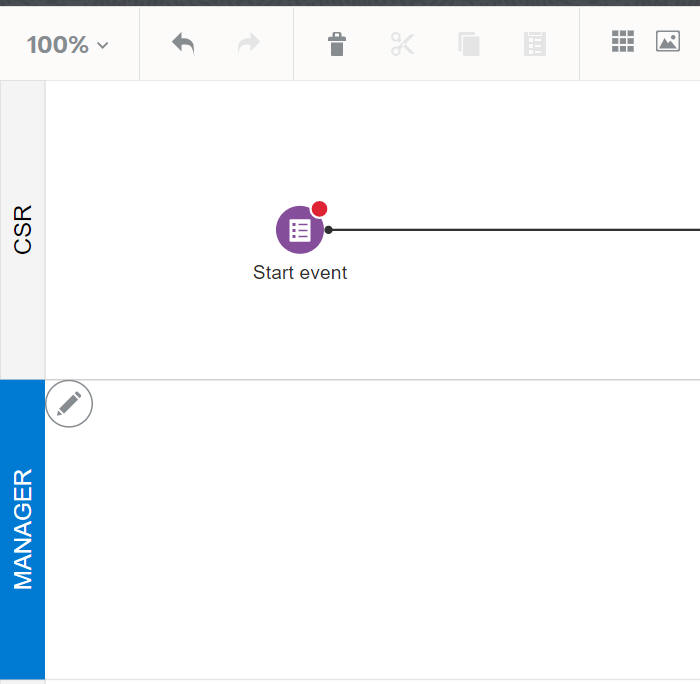
Finally, to the process itself - Process Automation supports 2 types of processes - structured and dynamic; for the latter think unstructured, more case management style.
Note the 2 swimlanes on the left - each of these will be assigned a role.
My business logic is simple - the CSR enters an order and the MANAGER approves it - so I need a Start Event of type Form (data entry).
I need to associate it to the form I created -
Click on
Open Data Association and you will see that a process data object has been automatically created.
This variable will contain the Order data entered.
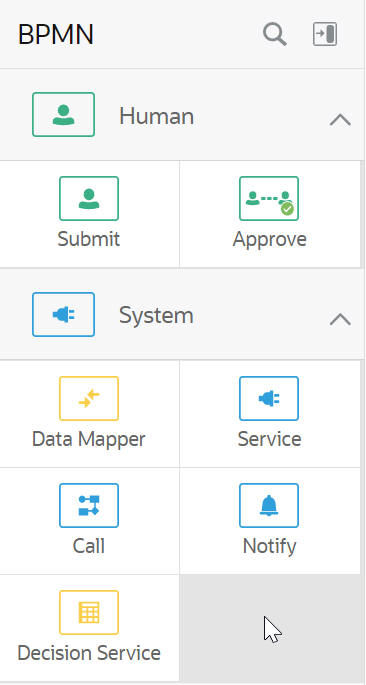
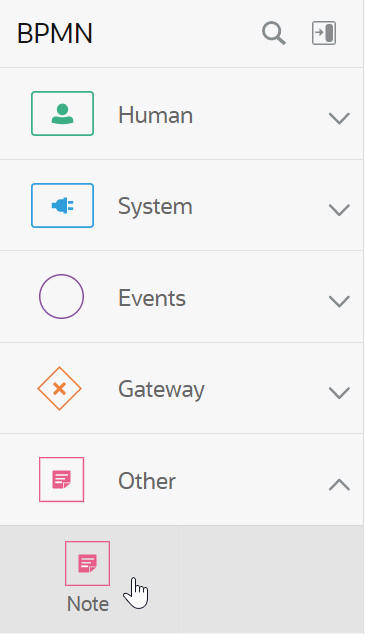
This is a good time to look at the activities available in the palette - most of these are self explanatory -
I drop an Approve activity in the MANAGER swimlane -
I configure the Approve to use the same form - as you can see, I have included the customer name in the title -
I select Bind to process data -
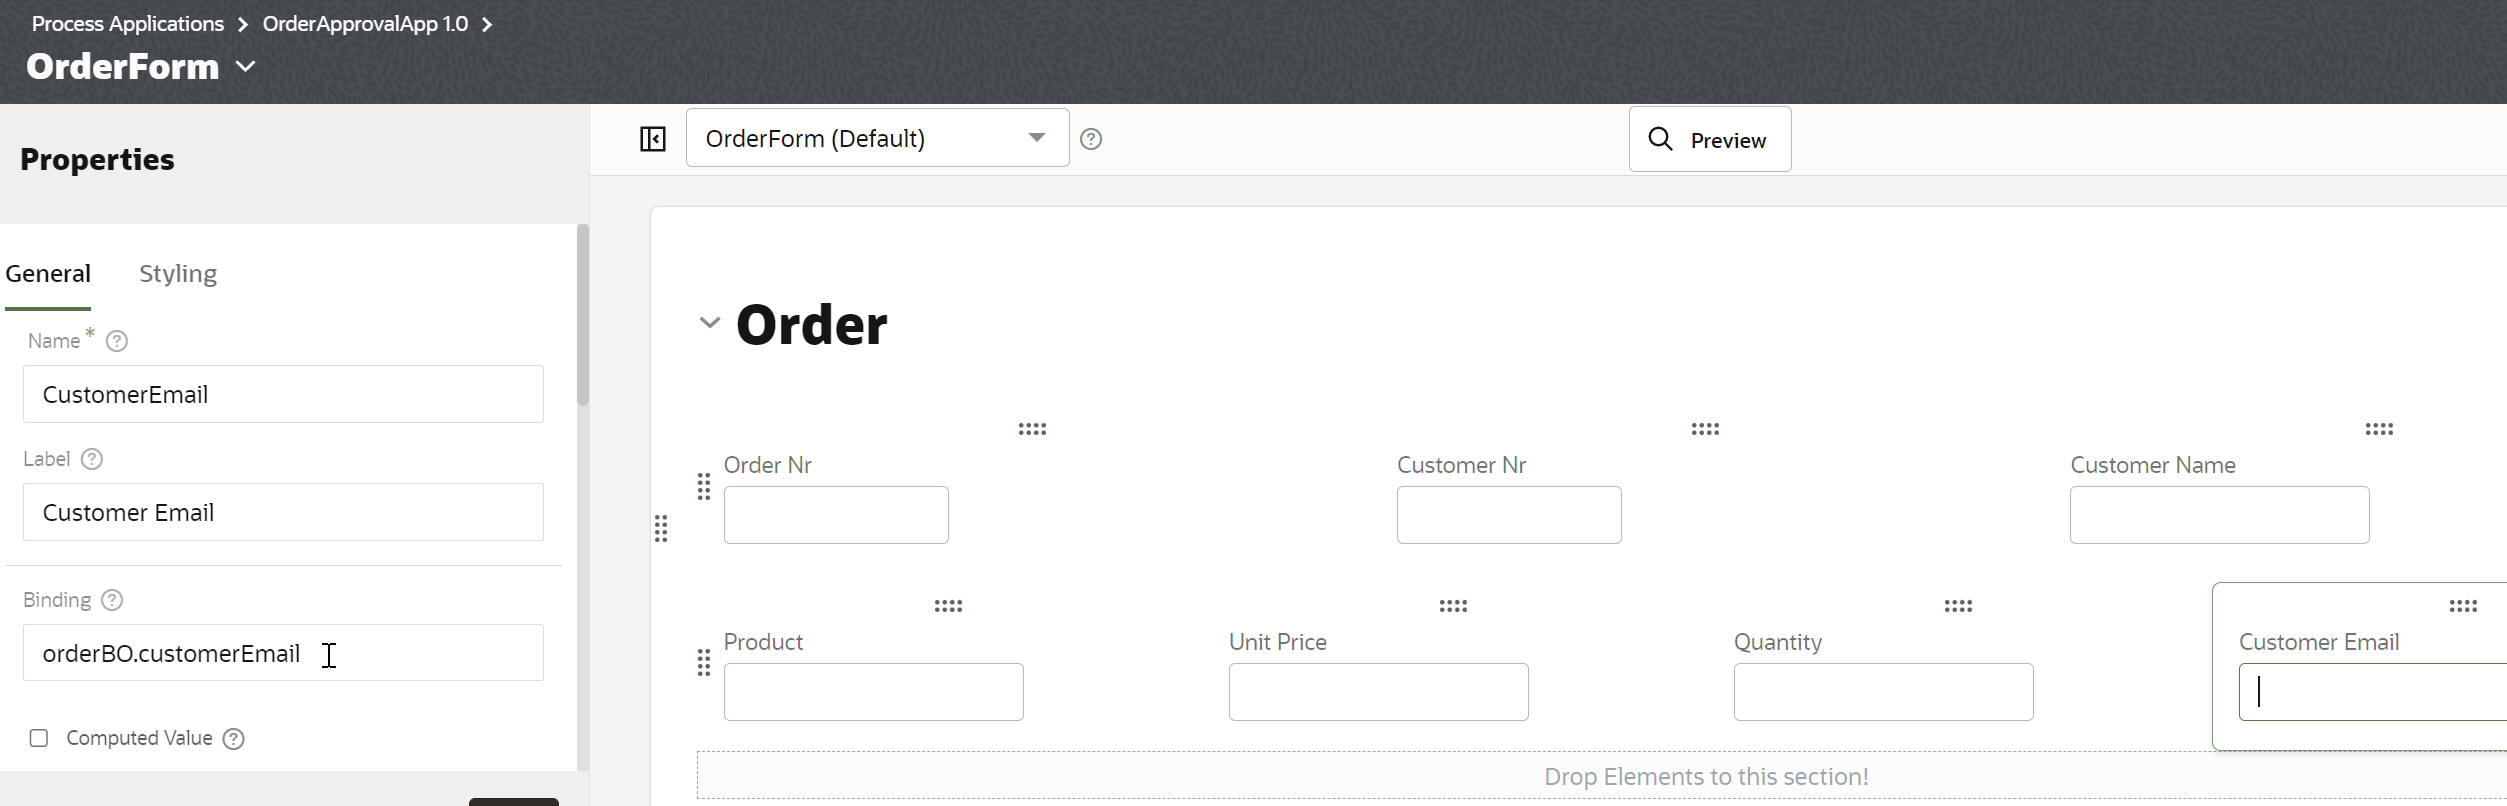
Now it hits me - I need the customer email - no worries - I add it to the Type definition and also to the form -
So now to the decision gate - what to do if Approved or Rejected. In this simple example, I will just send an approval or rejection mail.
Condition is based on the value of the auto-generated variable - taskOutcomeDataObject.
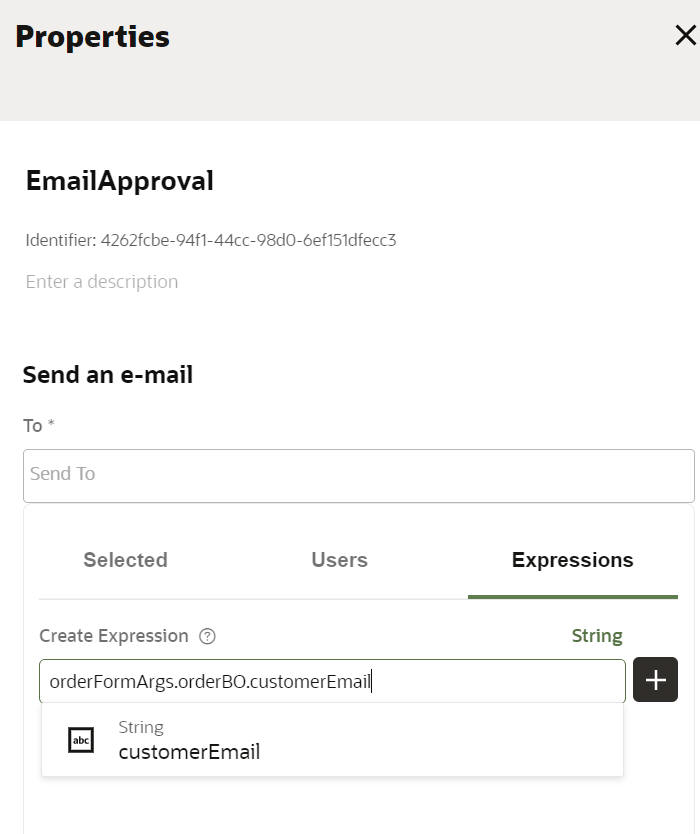
I configure the approval notify activity as follows -
I do the same for the rejected path -
That's it! Version 1 of the process has been completed - let's test it!
We could simply click Test here, but let's open the Workspace first.
The workspace uses the same base url as the designer -
https://yourOPA.oraclecloud.com/process/designer
https://yourOPA.oraclecloud.com/process/workspace
I add my user to both roles -
I then click on Start Requests and see an icon for my app
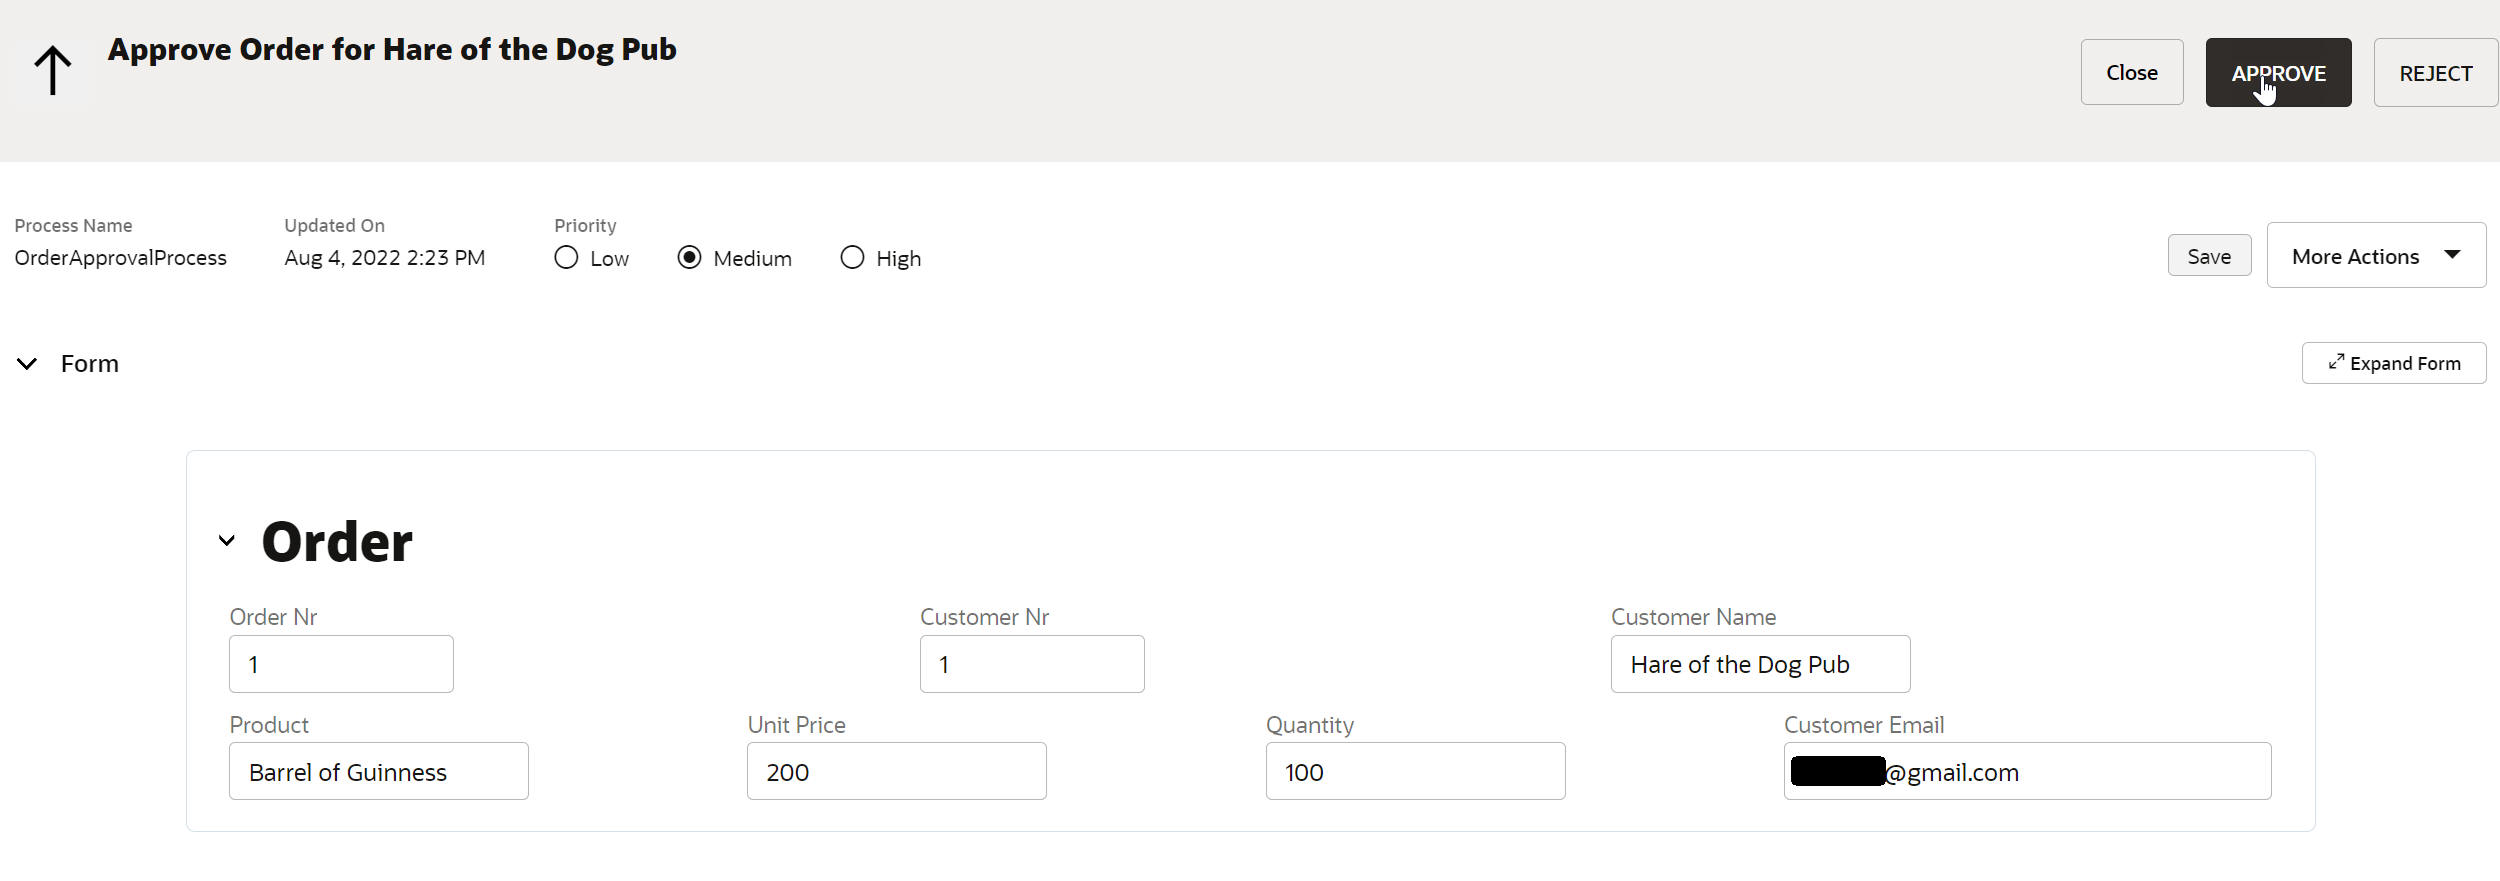
I check out my worklist -
and approve the order -
I can check out the Audit trail -
Excellent - the Guinness is on the way!
Further posts will go into more depth - for example enterprise connectivity, something I haven't touched in this post. Also leveraging the LOV in the Form , different start events etc. So wath this space or, should I say, blog!


No comments:
Post a Comment