Just a quick introduction to some of our Social adapters -
Facebook - social media for over 50s
You will need a Facebook account to do this lab.
Essentially, you will create a new page under your Facebook account.
Then you will leverage the OIC Facebook adapter
to retrieve Page details and then retrieve Page posts.
So let's begin -
developers.facebook.com setup
You will need an account at developers.facebook.com
Simply go in and create one.
Essentially what you do is create an App.
The work that we do via the FB adapter will be in the context of this app.
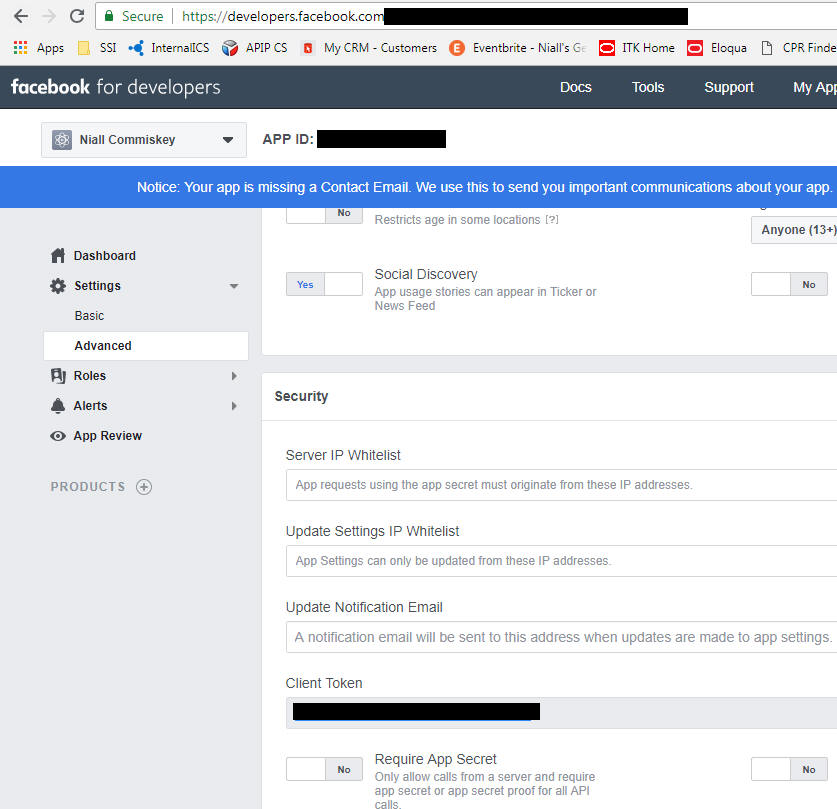
Note the App ID and App Secret -
they will be needed for creating the OIC connection to Facebook.
you also need to set the callback url for OIC -
Products -- Facebook Login -- Settings
The url has the format -
https://yourOIC:443/icsapis/agent//oauth/callback
You now create a page within the context of your facebook app -
Settings -- Advanced
Ensure you specify the App Page category, when creating the page.
As you can see, my app and page are called OICApp.
OIC setup and development
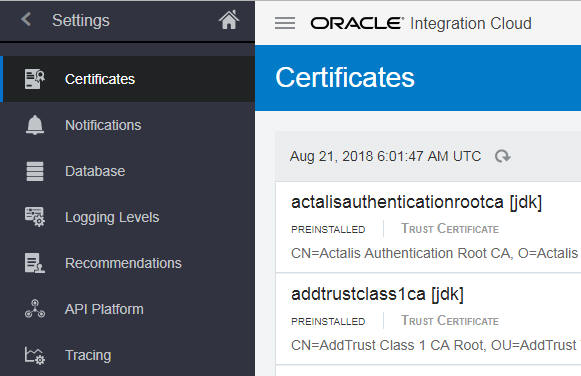
First upload the Facebook certificate.
You get this by logging in to facebook.com and downloading the cert.
This you then import into OIC -
Then click Upload and do the necessary
Create the Facebook Connection
Configure as follows -
Client ID is set to your Facebook App ID.
Client Secret is set to App Secret.
Note: these are available in the
Settings -- Basic screen of your facebook developer account
Now a word about scopes -
The following scopes are discussed in the adapter documentation -
user_posts -
Provides access to the posts on a person's Timeline. Includes their own posts, posts they are tagged in, and posts other people make on their Timeline. This permission is restricted to a limited set of partners and usage requires prior approval by Facebook.
user_likes - Grants an app permission to access the list of all Facebook Pages that a person has liked.
publish_actions - this has been deprecated - thanks to Cambridge Analytica
see the following Facebook link
You can check out all the Facebook permissions here
Specify the following scopes for this use case -
You
Provide Consent as follows -
Facebook grants access -
Test then Save the Connection
Create a second connection
REST -- Trigger
Create the Integration
You will use a REST Trigger for this orchestration.
Drag and Drop your REST Trigger on the Start area.
Configure as follows -
Set the Request to
{"pageId":"1234"}
Now drop the Invoke - Facebook Connection, after GetFBPageData
Configure as follows -
Note that we are using the facebook
graph api under the hood.
Now drop the Facebook connection again, after GetPageDetails and configure as follows -
Map as follows -
Now map the return values -
Set Tracking then Save and Close
Activate -
Test -
We need the page id - simply open your new FB page in a browser -
What I've blacked out in the URL above is the page id.
You will need this when testing.
Add a Post to the page, before you test - this is what we will retrieve via OIC.
I just added a simple - "Hi There".
I use Postman for testing -
Twitter - tweet to your heart's content!
Twitter is a strange kettle of fish, according to the media it has
coordinated revolutions, but has still to make a profit.
But who cares!
Again, the pre-requisite is a Twitter account.
Then it is essentially the same procedure as per Facebook -
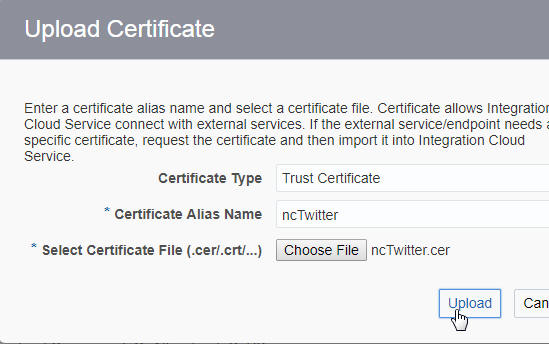
Download and Install Twitter Certificate
Download the twitter certificate from https://twitter.com
Upload to OIC -
Click Upload -
Upload your Twitter certificate -
Create an app as Twitter Developer
Next, I create an app on https://developer.twitter.com
This will provide me with all the keys I need to perform operations, such as tweeting.
After going through the necessary -
Note the Callback Url above, as per Facebook.
Now to the Access Token -
Click
Create -
Now to OIC -
Create Twitter Connection in OIC
Create Integration in OIC
This integration will have a REST trigger -
Request is
{"message": This is a tweet from OIC"}
Response is
{"status":"successful"}
I now drop the Twitter connection after the Trigger - TweetSomething
Configure as follows -
Map incoming request
message to Tweet
status.
Now map the integration response -
Here I return the id of the Tweet.
Set the Tracking and Activate the integration -
Then Test -
Validate on Twitter -


