
Introduction
This post covers OPA Decisions, as well as leveraging List of Values in a Form. It also discusses different form presentations e.g. Order Entry Person has a different form to the Approver. It also highlights some simple tips around OCI Process Automation. I don't like referring to the service as OPA as that means grandfather in German, but forgive me, if I sometimes do so.
You will be happy to know I'm sticking with the simple order approval example from the first OPA post -

In our simplified world, the business owner has asked me to apply discounts to all orders. The discounting rules are very simple -
1. Orders for iBikes, with an order value less than €10000, get a 15% discount.
2. Orders for iBikes, with an order value greater than €10000, get a 30% discount.
3. Orders for other products, with an order value less than €10000, get a 5% discount.
4. Orders for other products, with an order value greater than €10000, get a 10% discount.
He told me we need to get those iBikes moved asap, they're not all their made out to be.
This can be easily implemented by OPA Decisions -
Creating and Using Decisions
Let's start by considering the input / outputs. For the former I will need - product, unitPrice and quantity.
The latter is any of the following values - 5, 10, 15, 30 - i.e. the discount to be applied.

I will need Input Data and Decision Table for this simple example -


Now let's look at the Decision Table -

Note, one can test the decisions by clicking here -


Looks good!
Now to using this in the Process -
I drag and drop the following before the Email Approval activity -


Now to Open Data Association - I just need to map the relevant fields from my Order to to the following -


Let's edit the email to include the discount applied to the email body -


Activate and Test -


Using LOVs / Multiple Form Presentations
These 2 can be addressed together, you will soon see why. Our business owner has told me to ensure CSRs only enter valid products when inputting orders. So this is where the LOV comes into play. She also told me the Approvers should only see the Order data in read only mode. I nod my head intelligently and begin to implement.
Let's begin by revisiting the Form - here all I did was drop the OrderBO onto the page -

I will do the same with the Product LOV, but first I have to create a BusinessType based on the LOV.
To recap, here are the 2 business objects I already have defined -

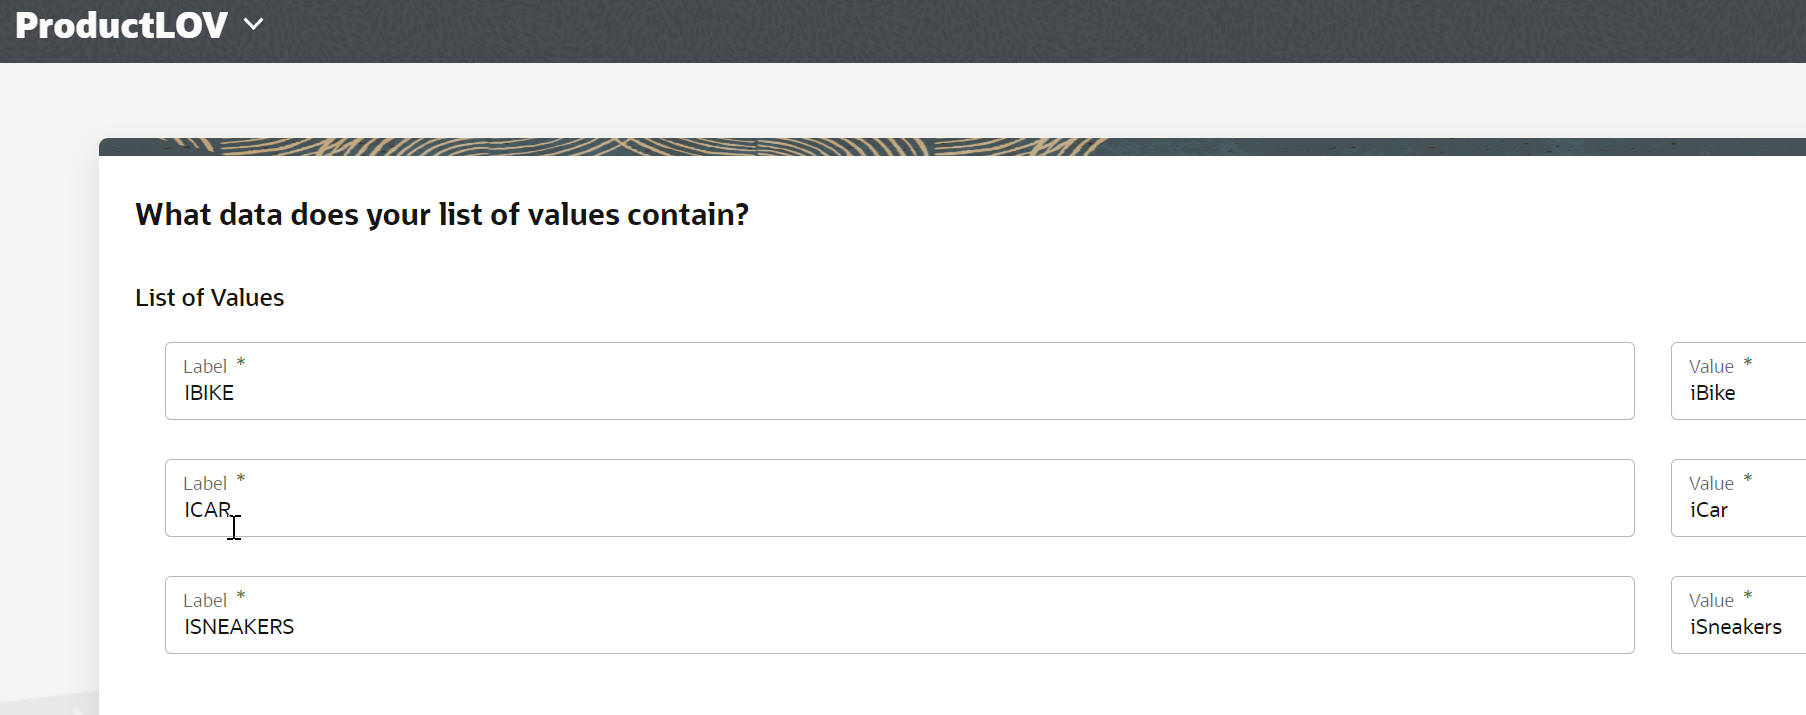
Let's look again at the ProductLOV -
Now to creating the new business type based on the LOV -


Now back to the form designer -
ProductLOVType is now available in the palette -

I drop this on to the form -
Now you could say I have product twice - but this is not the case - one is really just the list - I need to add an action to the list to populate the "proper" product field.


Select On Change -

I add an Action -


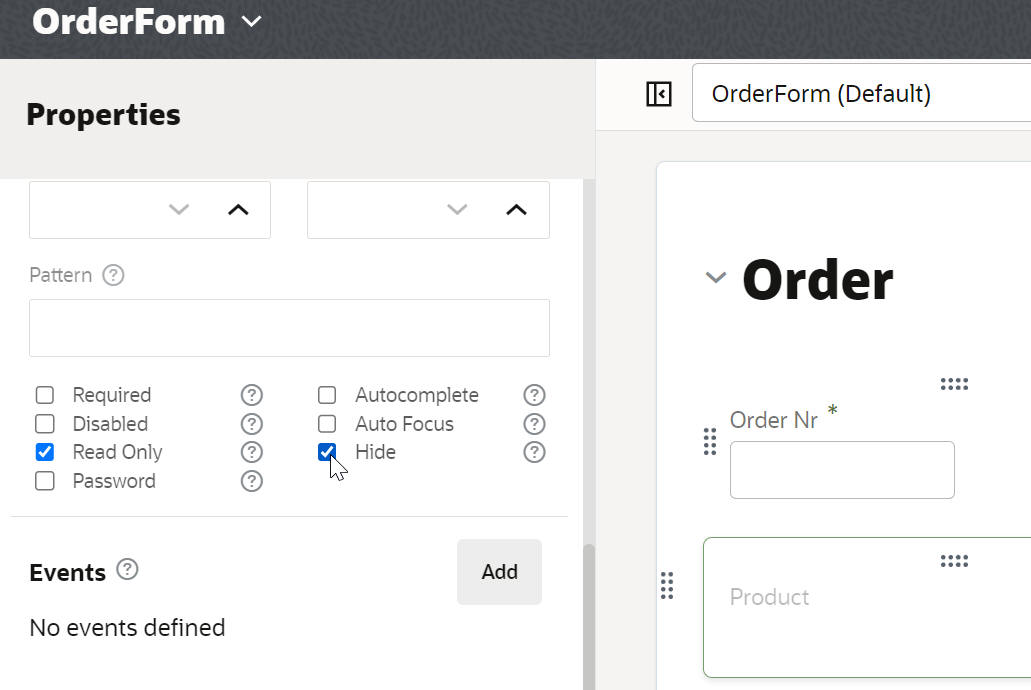
I now set the Product filed to read only -

Form Preview mode will allow me to test the logic -


Works fine!
Now we can hide the Product field -
Now to the 2 different presentations - for CSR and Approver.
Here are the properties for the Start activity -
note the 2 presentations available for the form -
I have added a new ApprovalPresentation. Starting point for this is Form Designer -


I then edited the ApprovalPresentation presentation - setting all fields to read only.


Let's Activate and Test - I enter a new order -

I check out the Approver view -

Tips
First of many I hope - need to create a new version of your Process app?
Just click on the chevron icon next to the current version -


No comments:
Post a Comment