
In a recent post, I discussed invoking RabbitMQ from OIC using the REST adapter. OIC doesn't have a dedicated RabbitMQ adapter, but RabbitMQ does have a rich REST api, hence my usage of that adapter.
A very BIG thank you to my colleague Madhav P. here.
So taking this example, let's use the OIC Rapid Adapter Toolkit to create a RabbitMQ adapter. This toolkit allows you to bundle REST api requests as a custom adapter, which can be then published to your OIC instance.

Let's go through this step by step -
Prepare Postman Collection
I set the authentication at Collection level -

Note, I have executed the 2 calls and saved the results, by clicking Save as example.


VS Code setup
Download VS Code, the version should be at least 1.8.x.
The Rapid Adapter Builder (RAB) extension will be available on the VS Code marketplace going forward -

You download the extension and then import it into VS Code.
Creating your adapter project
Create a new folder on your file system and navigate to it in VS Code -
Then click View --> Command Palette. Enter RAB: Initialize Workspace.

Check out the directory structure -

Essentially we're going to do the following -
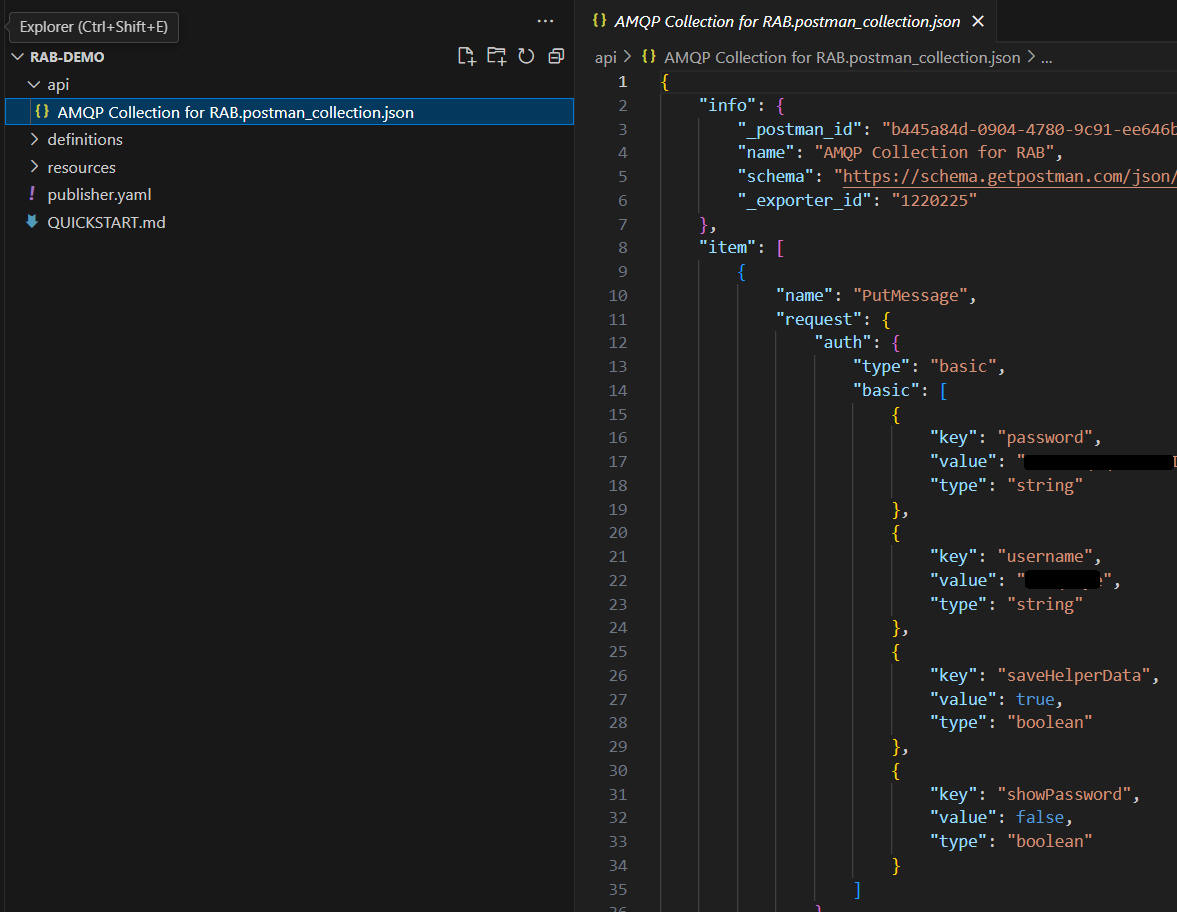
Import our Postman collection to the /api directory.
We will use this to generate an adapter definition file which will be stored in the /definitions directory. publisher.yaml contains details of my OIC instance and the security credentials to connect to it. This information will be used when publishing the adapter to OIC.
Import the postman collection
You can export again from Postman and save directly to the /api directory.

Edit publisher.yaml
As you can see, you will require the following -
- active - name of active profile
- profiles -
- name - profile name - identifies the OIC instance
- publisher id - yourOwnId - I chose ncommisk
- host - the OIC host
- integration instance - OIC instance name
- auth -
- tokenUrl - IDCS token url
- clientId - from IDCS app
- clientSecret - from IDCS app
- scope - from IDCS app
So the idea is I can have multiple Profiles, identifying multiple OIC instances, and then decide for each Publish run, which is active, i.e. publish the new adapter to test and then to prod.


Add the scopes for your OIC instance.
Activate and note client id and secret.


Update publisher.yaml -


Create the adapter definition file
Here we click RAB: Convert Document.


You will need to edit some of these values, at least the displayName, as this is what will appear in your OIC adapter list.


Validate the adapter definition
Click RAB: Validate


Check out the new adapter in OIC

So, net, net, I can add my own logo, if required.


Note the only security available is basic auth -


I enter my credentials and test the connection -

Now to a simple scheduled integration which will use this connection -

Note, the 2 operations, GetMessage and PutMessage, are displayed. I select the former.

I set ala Postman payload.


I run and validate the result - 

I add a Log Action to log the payload -


No comments:
Post a Comment